Before tenants start unpacking their boxes and settling into their new rental property, there’s one very important document that needs to be completed: the move-in checklist. This simple yet essential document records the condition of a rental property at the start of a lease, helping prevent security deposit disputes and holding both parties accountable.
Whether you’re renting in Indianapolis or a landlord in Dallas, it’s important to understand what a move-in checklist is and how to complete it.
What is a move-in checklist?
“A move-in checklist is a detailed document used by both landlords and renters to record the condition of a rental property at the start of a lease,” says Laura Baron, owner of All County Denver Metro Property Management. “It typically includes items such as walls, floors, appliances, plumbing, and fixtures, with space for notes on any existing damage or issues. This checklist is essential for protecting both parties—helping landlords track wear and tear and giving renters peace of mind by preventing disputes over security deposits when they move out.”
Why do landlords and tenants need a move-in checklist?
Kris Bruce from Green River Property Management explains why both parties benefit from move-in checklists.
“A move-in checklist is a crucial document used by both renters and landlords to accurately record the condition of a rental property at the start of a lease. It typically includes a detailed review of interior and exterior elements such as walls, floors, ceilings, appliances, and fixtures. This thorough documentation helps identify any pre-existing damage or maintenance concerns, setting clear expectations for both parties.”
Move-in checklists offer key protections:
For tenants:
- Prevent being charged for damage caused by previous renters
- Document repair needs up-front
- Provide written evidence in case of a dispute over the deposit
For landlords:
- Prove when damage occurred and hold tenants accountable for excessive wear and tear
- Ensure key lease requirements are met (e.g. deposit paid before move-in)
- Provide documentation to support claims when retaining part of a deposit
“They help ensure critical requirements are met,” says Brett Drevlow from Evernest. “After all, would you want to hand your keys over to someone who still hasn’t paid their deposit?”
What’s included in the move-in checklist?
The move-in checklist includes general information that applies to most types of properties but also items specific to the rental unit being leased. It should include:
Information about the tenant and property
The move-in checklist should start with general info:
- Property address, unit number, and move-in date
- Tenant’s name
- Whether a garage, storage unit, or parking space is included
Then, break it down room by room with space for notes on the condition of each item.
General items
- Doors, hardware, and locks
- Windows, screens, and coverings
- Flooring (wood, carpet, tile)
- Ceilings and walls
- Lighting and outlets
- Fire alarms and smoke detectors
“The more thoroughly the condition of the property is documented at or prior to move-in, the more useful the checklist is when performing the move-out inspection after a tenant vacates,” says Steve Simpson from CFL Property Management. “AC filter cleanliness, burned out or missing bulbs, dust on ceiling fans and sliding door tracks, mismatched touch-up paint – it should all be documented, and that’s just the beginning.”
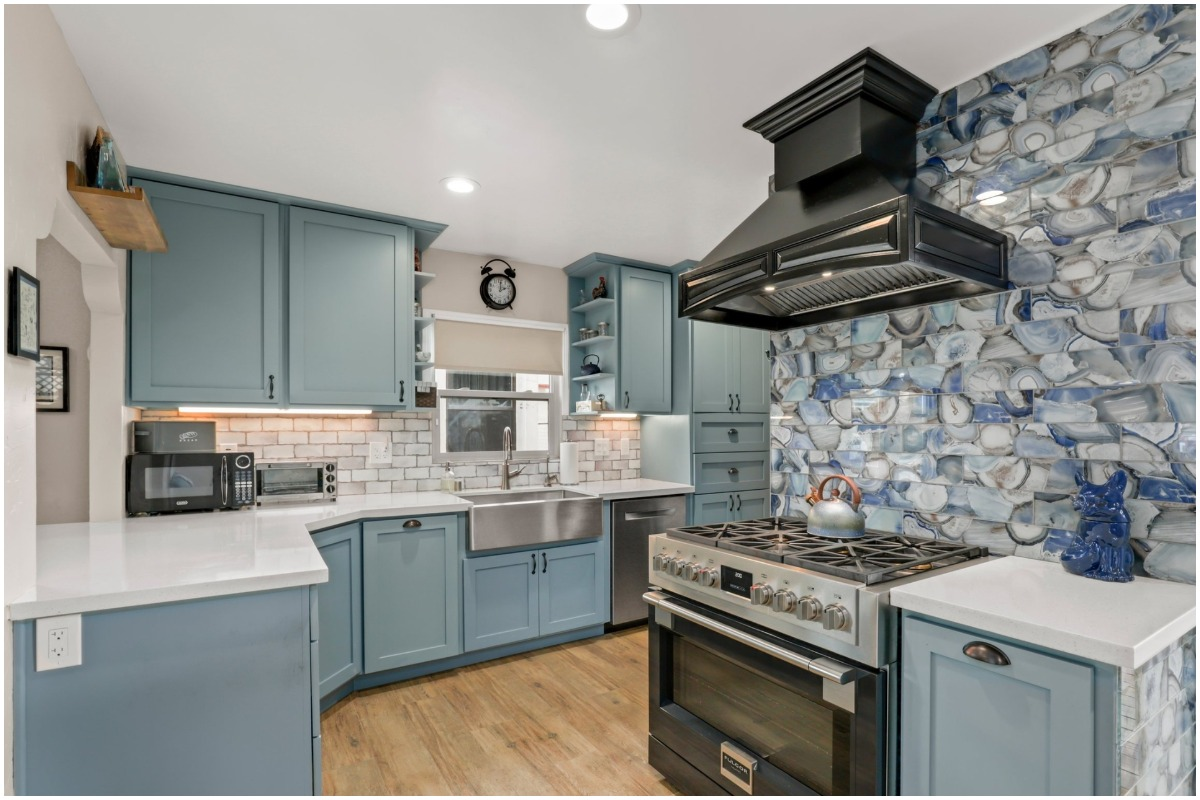
Kitchen
- Appliances (refrigerator, oven, stove, dishwasher)
- Sink: water pressure, drainage, leaks
- Cabinets and counters
- Lighting and outlets
Dining area
- Floors, walls, and ceilings
- Electrical outlets and lighting fixtures
Living room
- Flooring (check for stains, damage, or pet wear)
- Wall and ceiling condition
- Built-in shelving or fixtures
Bedrooms
- Windows and locks
- Closet doors and shelving
- Wall condition behind doors

Bathrooms
- Sinks, tubs, and toilets (check for leaks and pressure)
- Mirrors, cabinets, and towel racks
- Exhaust fans and GFCI outlets
Keep in mind that rental property types can vary; the list above provides a general overview. If there are unique items specific to the rental unit, those should also be included.
House vs apartment checklist differences
A single-family home will often have an extensive checklist. Some additional items listed on a home’s checklist include:
- Electrical, plumbing, and HVAC systems.
- Additional outdoor structures such as the garage or a shed.
- Exterior areas like the driveway, parking spot, garden, balcony, or patio.
- The lawn and any pathways, tables, or coverings in the backyard, entryway stairs, and any fences/gates.
“For properties with exterior elements, the checklist may include areas like entryways, porches, decks, garages, assigned parking spots, and yard or landscaping conditions,” says Lori Hendrix of Dennis Property Management. “Some checklists also note the presence of pests or signs of infestations. The goal is to create a clear, shared understanding of the property’s condition at move-in.”
If you’re renting an apartment, the checklist will likely be simpler. Tenants generally aren’t responsible for common areas like hallways, gyms, or lobbies, but you should still inspect in-unit features like thermostats, light switches, and storage.

How to record a rental property’s condition – key terms to know
Detailed note-taking is crucial when completing a move-in checklist. Here are the most common abbreviations to record the property’s condition:
S – Satisfactory
NC – Needs Cleaning
NM – Needs Maintenance
NP – Needs Painting
NR – Needs Repair
NSC – Needs Spot Cleaning
RP – Needs Replacing
SC – Scratched/Scarred
DT – Dented
CP – Chipped
ST – Stained
NA – Not Applicable
Take the time to make notes about the condition of everything in the rental, from the condition of the carpet to marks on the wall or cracked bathroom tiles; you want to show you didn’t cause the damage. You can add additional notes about each room in the comments section.
Even better, attach photos to the form or email them with a title for each image to identify the room, any issues, and the date. Landlords should fix any issues that come up that are against the landlord-tenant law in their state.
When should tenants complete the checklist?
Ideally, tenants should fill out the checklist on move-in day, before bringing in furniture. Some landlords allow it up to 72 hours after move-in. If possible, landlords and tenants should do a walkthrough together to review and sign off on the checklist.
Tenants should:
- Stay organized and thorough
- Submit repair requests right away
- Keep a signed copy (digital or paper) for future reference
States that require landlords to provide a move-in checklist
According to Nolo, 14 states require landlords to provide tenants with a move-in checklist:
- Arizona
- Georgia
- Hawaii
- Kansas
- Kentucky
- Maryland
- Massachusetts
- Michigan
- Montana
- Nevada
- North Dakota
- Virginia
- Washington
- Wisconsin
It’s still a good idea to document the rental’s condition, even if the state doesn’t require it. It’ll help protect both parties in case there are legal disputes. Tenants may be encouraged to take better care of the property, and landlords will have documentation to support any fees they retain from the security deposit to cover excessive wear and tear.
.png)
 German (DE)
  English (US)
  Spanish (ES)
  French (FR)
  Hindi (IN)
  Italian (IT)
  Russian (RU)
  8 hours ago
3





Comments